Marshmallow Pellet Extrusion Testing
6th May 2026
Engineering Marshmallow Pellets That Float: Inside a Multi-Session Extrusion Test Program
Introduction
Producing an extruded marshmallow pellet with low enough density to float on water sounds like a simple brief — until you’re actually in the test room trying to make it happen. What looks like a single-variable problem turns out to involve the interplay of formulation, barrel temperature, auger configuration, die selection, and post-extrusion drying. In a series of four test sessions conducted at Bonnot between July 2025 and February 2026, we worked through exactly that challenge — and the results offer useful lessons for anyone developing aerated or low-density confection products.
The Challenge
The product objective was clear: extrude a marshmallow-style pellet using a dextrose, starch, yogurt formulation — and achieve a finished pellet light enough to float on water. The leavening component was expected to drive expansion, but getting that expansion to translate into a stable, low-density pellet that survived post-processing required considerably more work than the initial runs suggested.
Early tests confirmed that extrusion alone was not sufficient. Even when the extrudate looked promising coming off the die, pellets sank when placed in water. The missing piece was a controlled drying step — and dialing in that step took multiple sessions.
The Test Setup
All testing was conducted on Bonnot’s 2¼” cooking extruder, configured with a grooved barrel and a non-compression auger. The cooking design was selected because it provides independent thermal control across barrel and auger zones, which is critical for a heat-sensitive, sugar-rich formulation where overcooking can destroy the structure you’re trying to build.
The first session also evaluated a 2″ twin-packer (TP) extruder with a slotted auger and 12:1 L/D as an alternative platform. The TP unit was able to extrude the material once temperature was dialed in, but the cooking configuration was carried forward as the primary test vehicle for subsequent sessions.
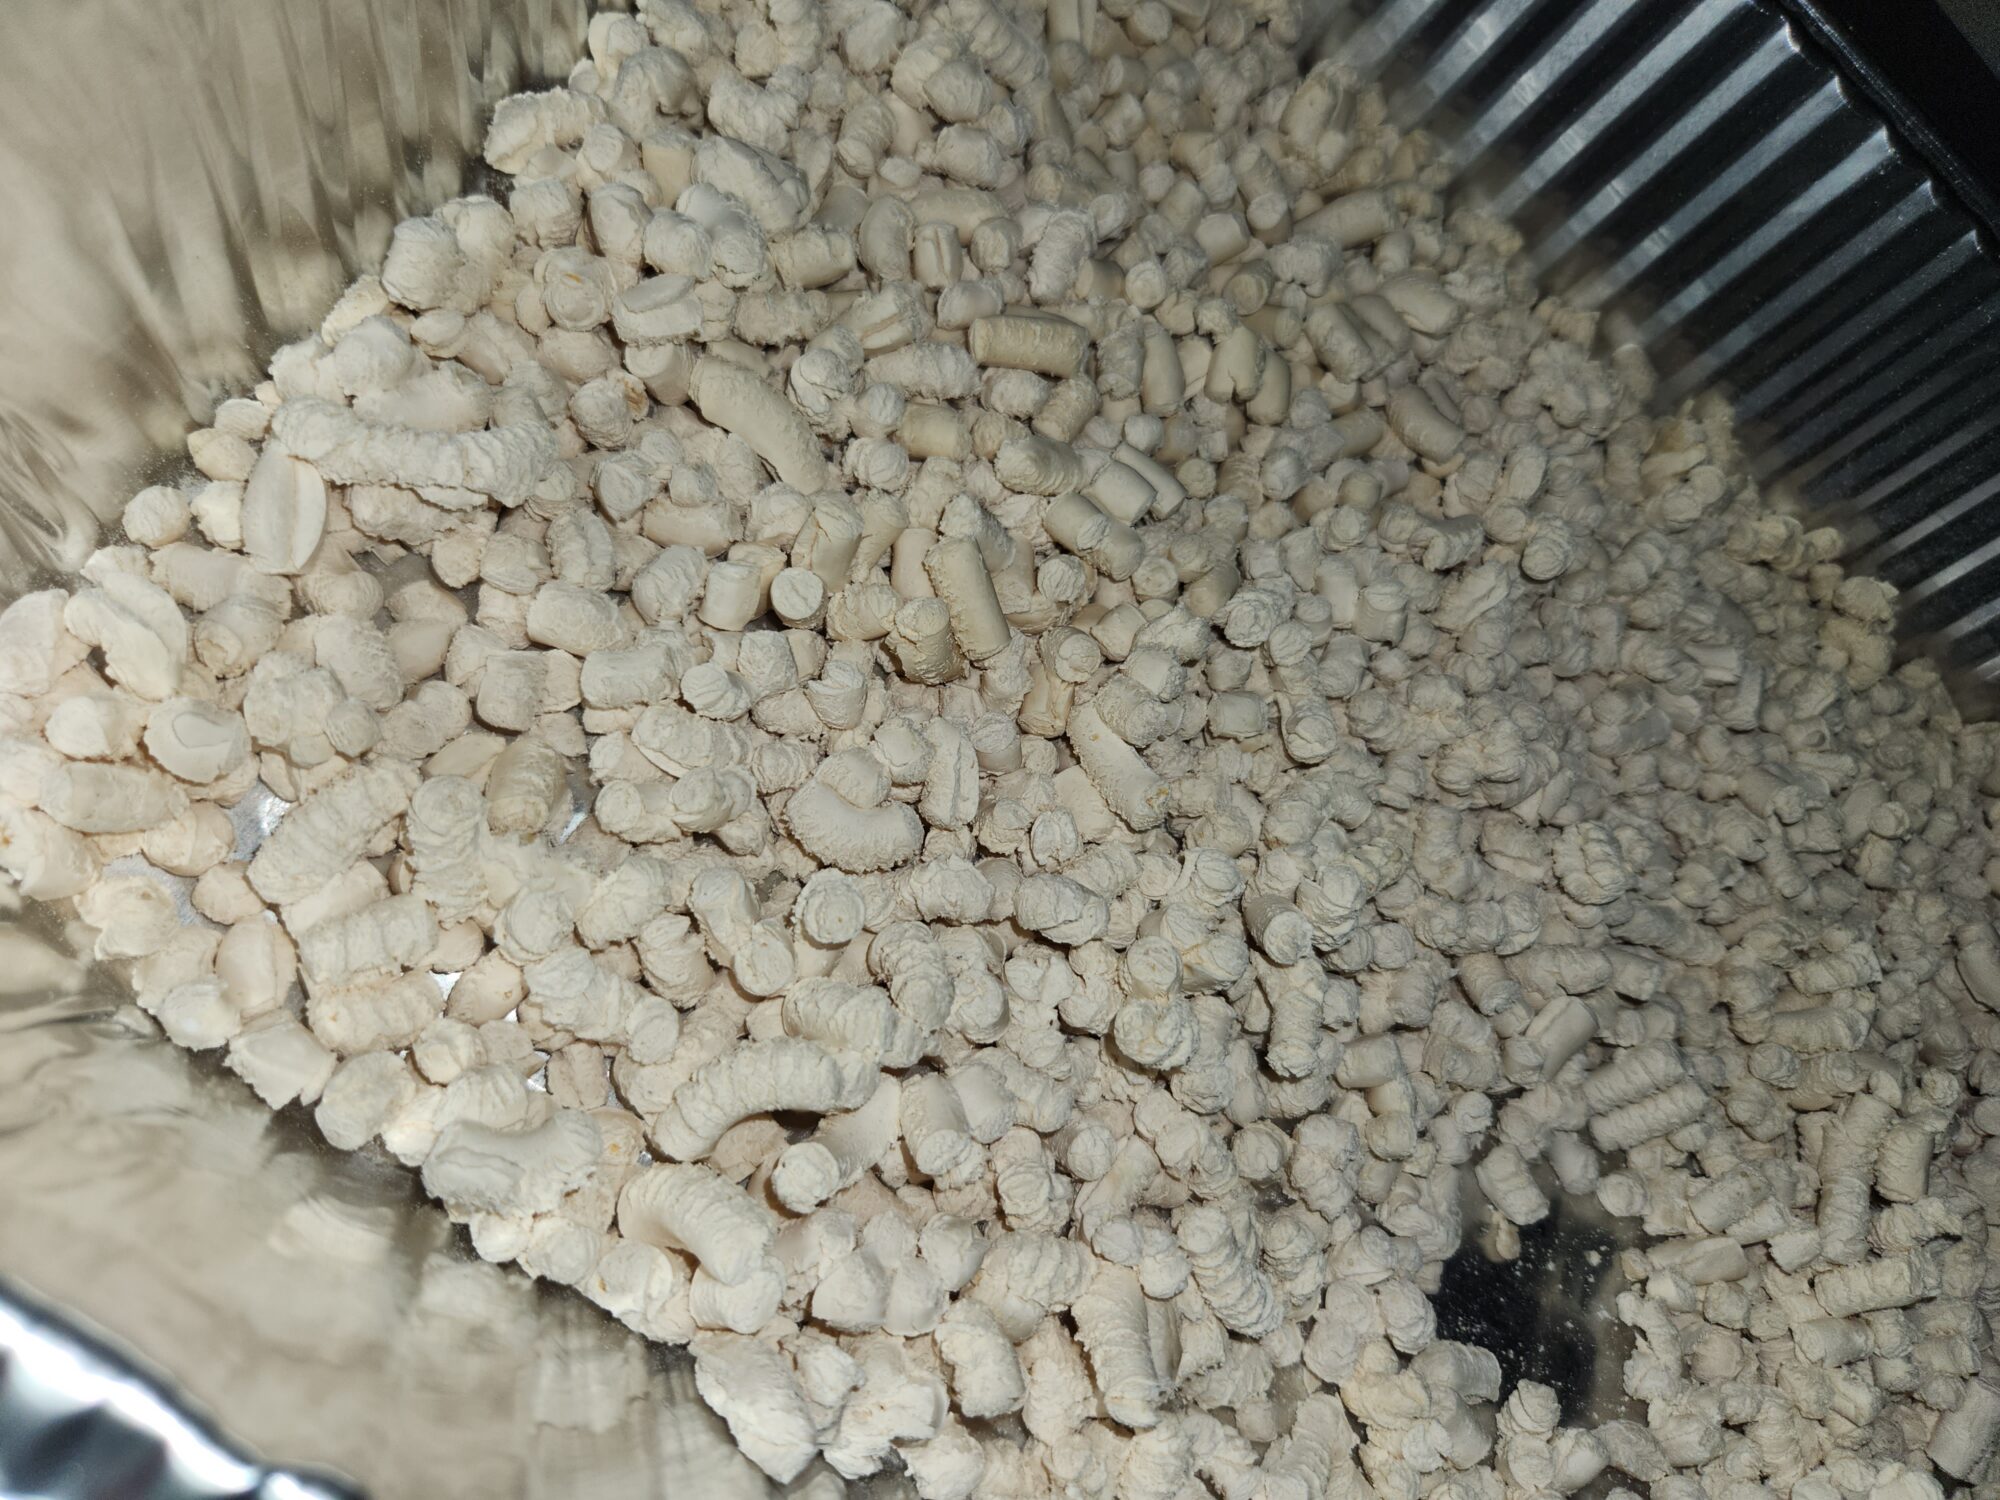
Die configurations evaluated included a ¼” single-orifice die and a ¼” multihole die. The multihole die produced more uniform pellets better suited for post-processing.
Formulations were mixed in a small Hobart mixer for 5–10 minutes prior to extrusion. Three formulations were evaluated across the test series.
Post-extrusion drying was performed in a convection oven, with temperature and duration varied across sessions. In later tests, a post-bake freezer chilling step was also evaluated.
What We Observed
The first session established the baseline — and its limits. The July 2025 run on the cooker extruder jammed immediately. With Zone 1 set to 140°F and Zone 2 off, the material could not flow and the machine over-amped. The TP extruder fared better: with water heating starting at 200°F and reduced to 150°F, the material extruded reasonably well once temperature was dialed in. This session established that the formulation was extrudable but sensitive to thermal conditions.
November 2025 introduced the float target and revealed what it would take. With the customer present for the first time, testing moved to the cooker exclusively. Three formulations were evaluated, and the team worked through a range of zone temperatures, amperage conditions, and plumbing configurations. Formulation 3 — the smaller-batch, lower-ratio formula — proved most processable. Running Zone 1 at 230°F during startup and dropping to 80–100°F once material began extruding produced a workable extrudate. Pellets baked at 200°F for 20 minutes showed floating behavior for the first time, though not consistently. The conclusion: the formula and basic process window were identified; drying needed more work.
February 2026 refined the drying step — and found its limits. Zone 1 was initially set to 230°F and reduced to 100°F once material flowed; Zone 2 held at 230°F throughout. Extrusion was consistent. However, drying pellets at 160°F for 30 minutes produced no floaters. Extending drying time by an additional hour had no impact either. The breakthrough came when pellets tested for moisture content in a moisture analyzer were found to float — but also expanded. Conclusion: the oven temperature was too low to drive off sufficient moisture in a practical timeframe.
February 2026 (Test 2) cracked the code. Oven temperature was raised to 200°F, and drying was done in 10-minute increments for a total of 20–25 minutes. Zone temperature management was also refined — the most effective combination was Z1 = 170–180°F and Z2 = 130–140°F during steady-state extrusion, after starting higher. Six test runs were conducted, progressively tightening the process window. The standout finding: pellets that were placed in the freezer after baking showed significantly better floating performance than those that were not chilled. The rapid cooling step appears to lock in the porous structure that enables flotation.
Key Takeaways for Food Processors
- Start hot, then back off. For sugar-rich, viscous formulations, high startup temperatures (230°F or above) are often necessary to initiate flow. Maintaining those temperatures once material is moving leads to overcooking. The most consistent results came from stepping temperatures down significantly — 80–100°F on the barrel — once steady flow was established.
- Zone 1 and Zone 2 are not the same lever. Barrel temperature (Zone 1) and auger temperature (Zone 2) influence the material differently. Managing them independently, rather than in tandem, expands your ability to control extrudate temperature and structure.
- Drying temperature matters more than drying time. Extended drying at 160°F produced no useful result. Shorter cycles at 200°F worked. When targeting low density, getting enough energy into the pellet quickly is more effective than prolonged low-heat exposure.
- Post-drying chilling may be a process variable worth controlling. The freezer step in the final test session noticeably improved floating performance. For products where structure stability after drying is important, rapid cooling deserves evaluation as a formal process step.
- Formulation scale and ratio affect processability. Formulation 3’s smaller batch size and lower ingredient ratios produced a more manageable process window than Formulations 1 and 2. When iterating on food extrusion, batch size and ingredient proportions are variables — not just inputs.
How Bonnot Can Help
This test series is a good example of what structured test room work actually looks like: not a single successful run, but a progressive series of experiments that systematically narrows the process window until the product performs as required. Bonnot’s test room is set up to run exactly this kind of program — with the equipment, the documentation, and the hands-on expertise to turn test data into actionable process knowledge.
If you’re developing an aerated confection, a low-density snack pellet, or any food product where extrusion and post-processing have to work together, we’d welcome the chance to talk through your application.